
Introducing the WordPress Configurator Plugin: Create a Custom Online Experience
What does an office chair with blue fabric upholstery and a black star base look like? With WP Configurator 3D Pro, customers can choose both options, rotate the chair in their browser, and view the selected combination from different angles. In this example, you’ll set up an office chair configurator, from exporting the GLB model to placing a test order in WooCommerce.
For image-based 2D configurations, the developer offers a separate plugin called WP Configurator Pro.
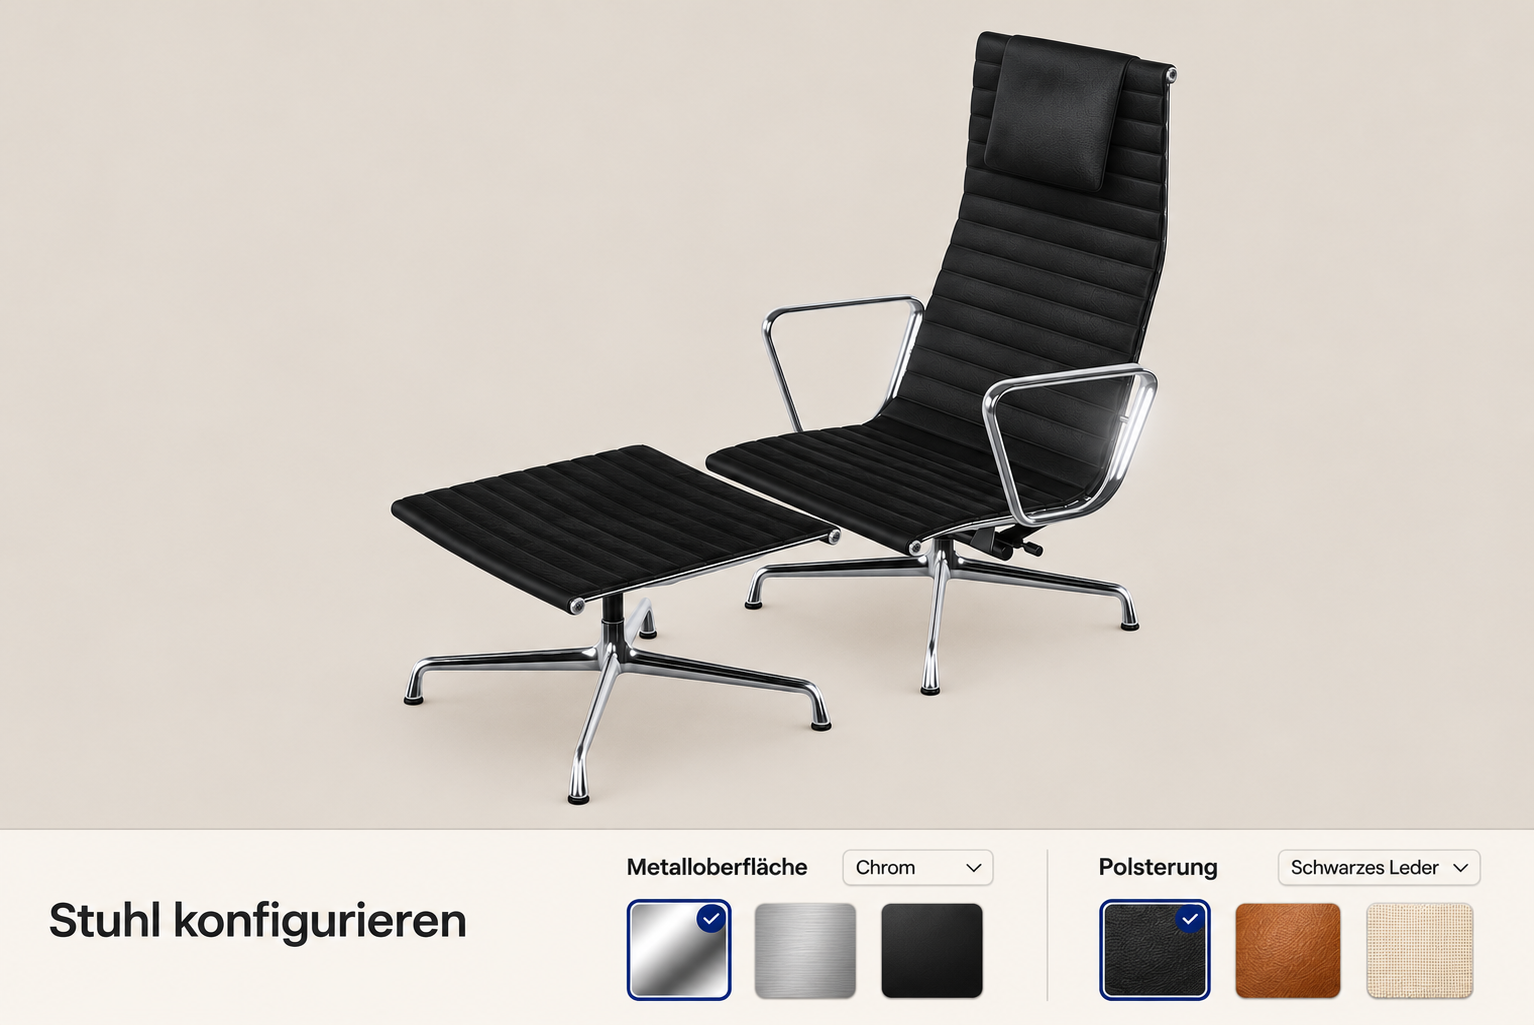
1. Install the 3D plugin
In the WordPress dashboard, go to Plugins → Add New Plugin → Upload Plugin. Upload the WP Configurator 3D Pro ZIP file and activate the plugin. Once activated, 3D Configurator will appear in the dashboard menu. You’ll also need a WooCommerce store set up to place a test order in the final step.
2. Prepare the office chair model as a GLB file
For the initial setup, two options per group are enough. The seat stays the same, while the backrest upholstery and star base can be changed. Create the configurable parts as separate meshes in your 3D software so you can assign each part to the correct option group in the plugin.
| Component | Model setup |
|---|---|
| Seat | A fixed mesh with its own material |
| Backrest | A single mesh with a dedicated upholstery material that can switch between gray and blue fabric |
| Star base | Two interchangeable meshes, one aluminum and one black, with identical attachment points on the chair |
Use unique names such as Rueckenlehne, Fusskreuz_Aluminium, and Fusskreuz_Schwarz. Both star bases must sit in the same position on the chair. Give the backrest upholstery its own material so that switching fabrics leaves the seat material unchanged.
Export all the parts together as a single GLB file. Before uploading it, open the exported file in a GLB viewer and check the scale, orientation, and materials. Test the model on a smartphone early to see how it performs on the product page. If needed, simplify the geometry and reduce texture resolution in areas where the difference is barely visible at typical viewing distances.
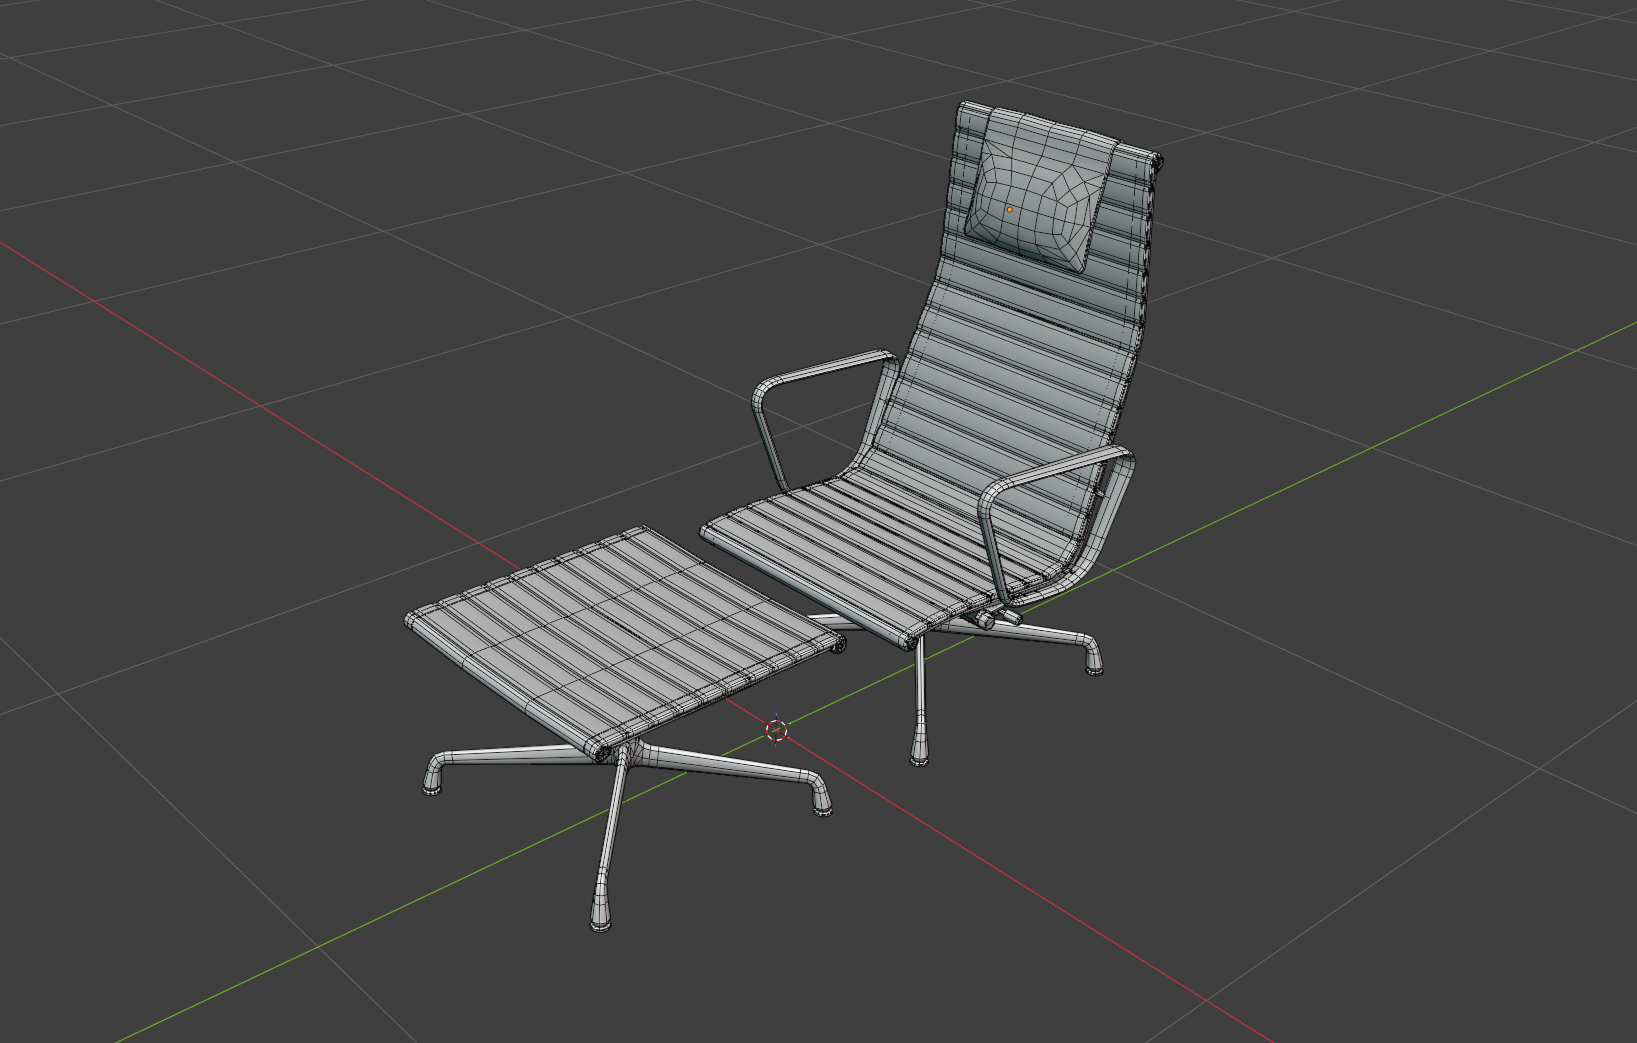
3. Upload the GLB file and assign options
Open 3D Configurator → Add New 3D Configurator, name the configurator Office Chair, and upload the GLB file. In the Layers section, create two option groups called Backrest and Star Base.
- Backrest. Assign both fabric options to the same mesh and set up material switching between gray and blue fabric.
- Star Base. Assign the corresponding mesh to each option. Only the selected star base should be visible in the preview.
- Default configuration. Start with gray fabric and the aluminum star base. Keep the seat visible in every configuration.
Use clear labels such as Gray Fabric and Aluminum so customers can easily identify their selections in the cart.
4. Test the preview on desktop and mobile
First, change only the upholstery, then change only the star base. Rotate the chair to inspect it from the side and from behind. Check that the seat keeps its material, the selected star base fits correctly, and the other base is completely hidden.
Test all four combinations in the product preview, then repeat the test on a smartphone. Check how quickly the model loads, whether you can rotate the chair using touch gestures, and whether the options are easy to reach.
5. Connect WooCommerce and place a test order
Create the office chair as a product in WooCommerce. In the 3D configurator, select the product under Global Settings and set the base price. If an option costs extra, add the surcharge to that option. Publish the configurator and open the product page.
For the test order, choose a combination other than the default, such as blue fabric upholstery and a black star base. Add the chair to the cart and complete a test order. Check that both selections and the expected price appear in the cart and in the order details. If any option costs extra, also test a combination at the base price.
Need help building your 3D configurator?
Want to offer a 3D product configurator on your website? If your 3D models still need preparation or you’re unsure where to start, get in touch. Show us your product and tell us which options you want customers to try. We handle the entire process, from retopology and model preparation to building the configurator and publishing it on your website.


